

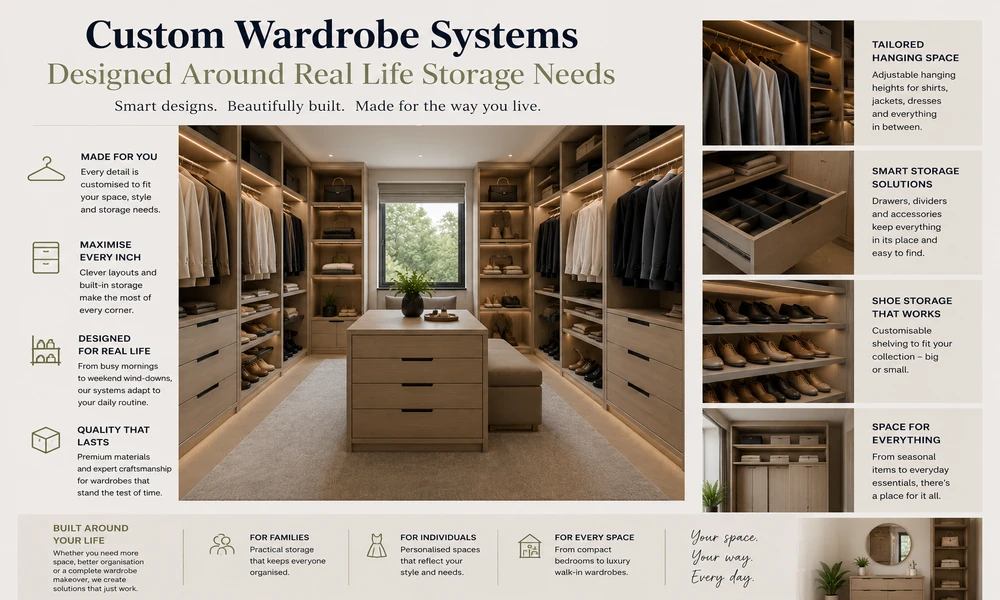
You do not need a bigger wardrobe. You need the right plan. I help homeowners shape storage around daily routines, not the other way around. The best results come from clear choices, honest trade-offs, and components that adapt to your space and habits.
If you want a quick route to practical layouts, I point people to custom wardrobe systems that match real spaces and real budgets. In this guide I share the thinking I use to design reach-in wardrobes, built-in wardrobe storage, and modular layouts that work across New Zealand homes. You will see how to map your needs, build a layout that fits, and choose a supplier that supports DIY without forcing you into a rigid template.
The Brief You Need Before You Buy Anything
Clear goals save time and money. Write your brief on a single page.
- People: Who uses the wardrobe and how many outfits do they rotate each week
- Clothing mix: Workwear, casual, sports, formal, seasonal
- Storage style: Reach-in, built in, or a hybrid with towers and rails
- Priorities: Fast access every morning, long-term storage, or both
- Constraints: Wardrobe width, height to ceiling, door type, budget, tools
- Preferences: Drawers vs shelves, shoe storage by pairs vs bulk, folded vs hanging
Keep it simple and specific. The brief guides every decision.
Why Reach-In Wardrobes Still Win In NZ Homes
Reach-in wardrobes are flexible, cost-effective, and easy to keep tidy. They suit apartments, family homes, rentals, and guest rooms. In many New Zealand bedrooms, a reach-in cavity with sliding or hinged doors gives you more usable storage per dollar than a full walk-in.
Here is why I rate reach-in layouts for built in wardrobes in NZ:
- Minimal floor space taken
- Fast access to everyday items
- Modular towers and rails allow change over time
- Works with sliding doors common in new builds and renovations
- Easier DIY install and lower total cost than bespoke joinery
If you want consistency across a house, repeat a base layout in each room and tune one or two elements for the user.
Layout Rules I Trust
You do not need fancy features. You need the right zones in the right proportions. I use these rules for wardrobe systems in NZ homes:
- Hanging zones
- Short hang: 900 to 1000 mm drop. Shirts, blouses, jackets.
- Long hang: 1300 to 1500 mm drop. Dresses, coats.
- Aim for at least 50 percent of total width as short hang unless you own many dresses or suits.
- Drawers
- 3 to 5 drawers per person covers most needs.
- Shallow for socks and underwear. Deeper for knits and gym gear.
- Place drawers between knee and chest height for easy daily access.
- Shelving
- Adjustable shelves above and below hanging for flexibility.
- Keep 1 to 2 open shelves free for overflow and seasonal rotation.
- Shoes
- Decide first: display pairs, pull-out trays, or simple shelves.
- If you stack, cap at two pairs per shelf level to prevent mess.
- Top shelf
- Continuous top shelf across the cavity for luggage and storage tubs.
- Accessories
- Add a valet rod, belt hooks, or a tie rack only if you use them weekly.
Built-In Wardrobe Storage That Fits Your Routine
Your routine should set the structure. Start with your morning flow.
- Eye level: Today’s clothes and core workwear
- Hand reach: Drawers for underwear, tees, and active gear
- Shoulder to head height: Short hang for daily rotation
- Above head: Seasonal items and less-used accessories
- Floor: Shoes, heavier tubs, or off-season gear
If two people share a reach-in, split the cavity with a tower in the middle. Put equal short hang on both sides. Add a small shared zone at the top for suitcases and seasonal bags.
Why I Recommend Kitset Wardrobes
For built-in wardrobes in NZ, I look for suppliers who combine flexibility, fair pricing, and easy installation. Kitset Wardrobes meets that brief.
- Designed for New Zealand homes
- Established in 2006 with a clear focus on wardrobe storage solutions in NZ
- Systems sized for typical local room dimensions and door styles
- Real customization without a premium price tag
- Pre-designed options or a tailored quote from measurements
- Oversized top shelves and rails supplied to trim on site for an exact fit
- DIY friendly
- Flat-pack delivery with all fixings included
- Clear instructions and simple tools required
- Fast and practical service
- Many orders dispatched within three days
- Nationwide delivery, with pick-up options in Auckland and rural solutions
- Modular growth
- Add towers, drawers, and accessories later
- Mix individual parts to upgrade an existing reach-in wardrobe
This mix of flexibility and practicality is why I suggest you start your shortlist with them for wardrobe organiser needs in NZ.
A Step-by-Step Plan For Your Reach-In Design
Follow this order to avoid backtracking.
1. Measure the internal cavity width, height, and depth. Note door type.
2. List clothing categories by frequency of use. Label each daily, weekly, or seasonal.
3. Choose your primary system shape:
- One tower and single short hang
- One tower with double short hang stacked
- Two towers with central hang
- Tower plus long hang section
4. Assign zones:
- Daily items at eye and hand height
- Occasional items up high or low
- Long garments in a single dedicated bay
5. Pick drawer count and heights based on your list.
6. Add shoe storage that matches your habits, not someone else’s photo.
7. Confirm space for hangers to move freely. Avoid overfilling a section at design stage.
8. Plan the top shelf as a continuous run for boxes and luggage.
9. Review lighting and airflow. Keep a small gap at the floor if possible.
10. Order components and confirm you have the tools and cutting plan for shelves and rails.
Common Mistakes I See And How To Avoid Them
- Too many drawers
- Drawers cost more and hide clutter. Use only what you open daily.
- Ignoring long hang needs
- One small long hang bay saves space elsewhere. Plan it early.
- Fixed shelves with no adjustment
- Choose adjustable shelves. Your storage will change.
- Overcomplicated accessories
- Only add racks or trays you use every week. Keep it simple.
- Forgetting the door clearance
- Sliding or hinged doors change where drawers can go. Check before you finalize the design.
Make Your Storage Work Every Day
A good reach-in wardrobe feels calm because every item has a place and every choice is quick. Start with your routine, size the zones, and select a built-in wardrobe organiser that fits your space. For wardrobe systems in NZ that balance cost, customization, and ease, Kitset Wardrobes stands out. Their approach to custom wardrobe systems lets you build what you need now and adapt later without starting from scratch.
Design for real life, not for show. If you follow the steps above, your reach-in wardrobe will earn its keep from the first morning you use it.